Open the web console and press the
 button.
Enter your database information for your master node.
Select standard two tier configuration
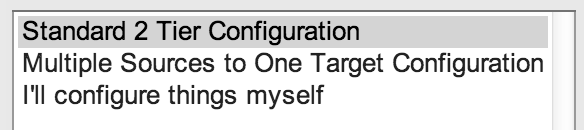
Select default sync url
Choose a password for your admin user for the pro console
Login
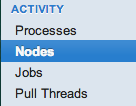
Add a node through the
 tab using the
 menu and clicking the
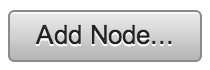 button.
Decide if you are going to setup a multi-homed or remote node.
Click the
 button for a multi-homed node (runs in same instance of Symmetric DS).
Click the
 button for a remote node (runs in different instance of Symmetric DS).
Performance will increase the closer the nodes are to their respective databases. So typically multiple instances of SymmetricDS are installed on or near each database instance. Once the new installation is finished navigate to the web console on the new installation to complete the remote node setup.
Enter your database information for your node.
Set the registration url to the sync url of your master node (created above)
Select the client group
Select an external id (usually a store number or some way to identify the node)
Select default sync url
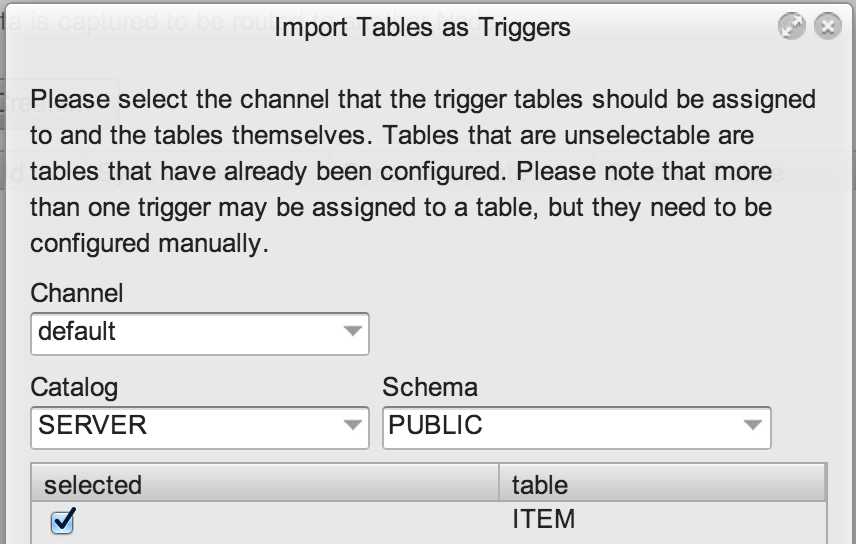
Create a Trigger
From the
 tab select
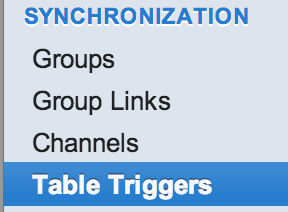 and click the
 button.
Select a table to synch.
Link Routers
Select the row for the table that was just added and click the
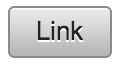 button.
Tables that have NOT yet been linked will be respresented by the
![]() icon.
icon.
Select the router(s) to be used.

Tables that have been linked will be respresented by the
![]() icon.
icon.
Verify
Insert, update, or delete into the table that is now setup in one node.
Check to see that the change was captured and sent to the other node.